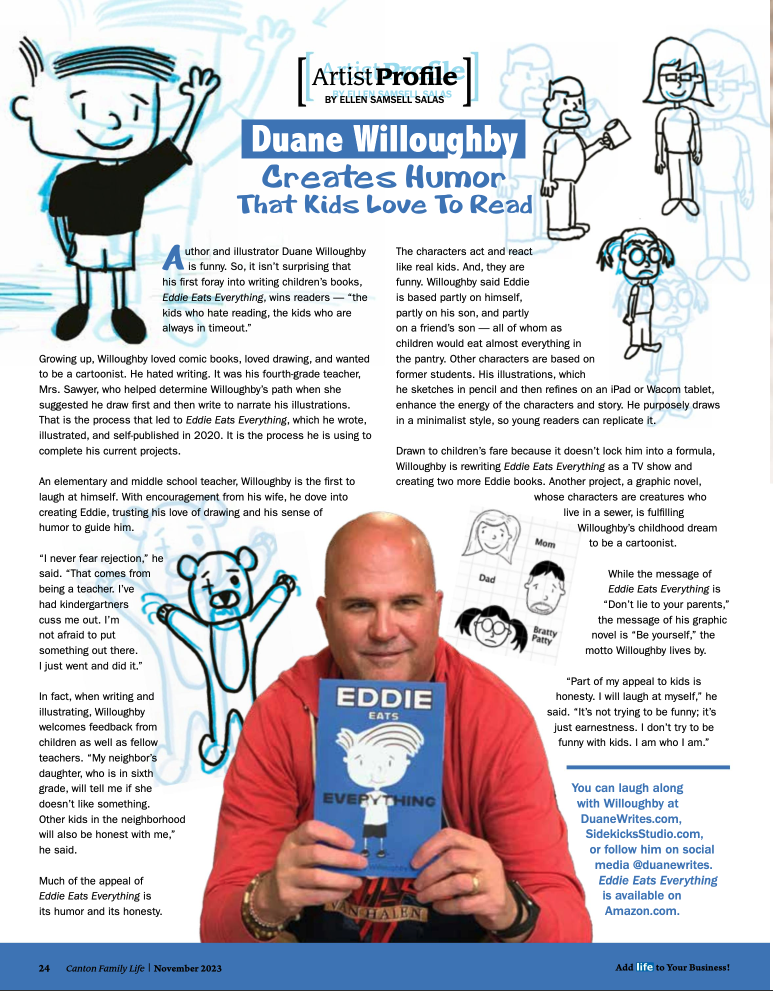
This is a quick step by step drawing using the Procreate app on the iPad.
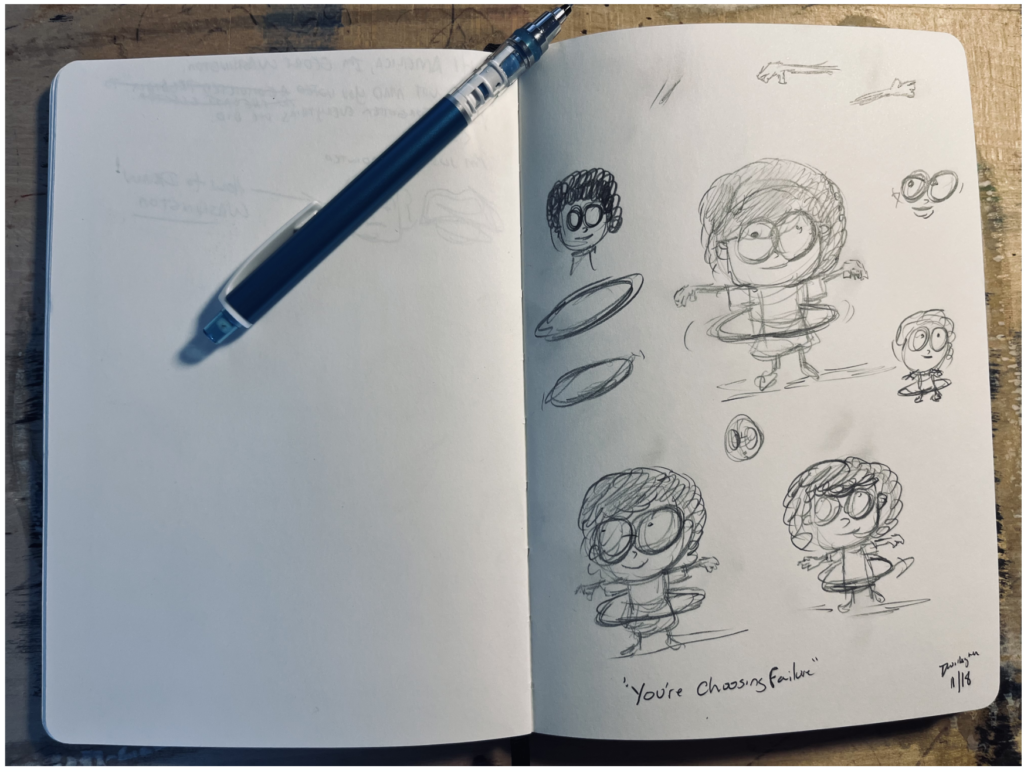
Layer 1: Pencil Sketch
There are no rules.
This is your time to put down whatever you’re thinking.
There are no wrong lines here.
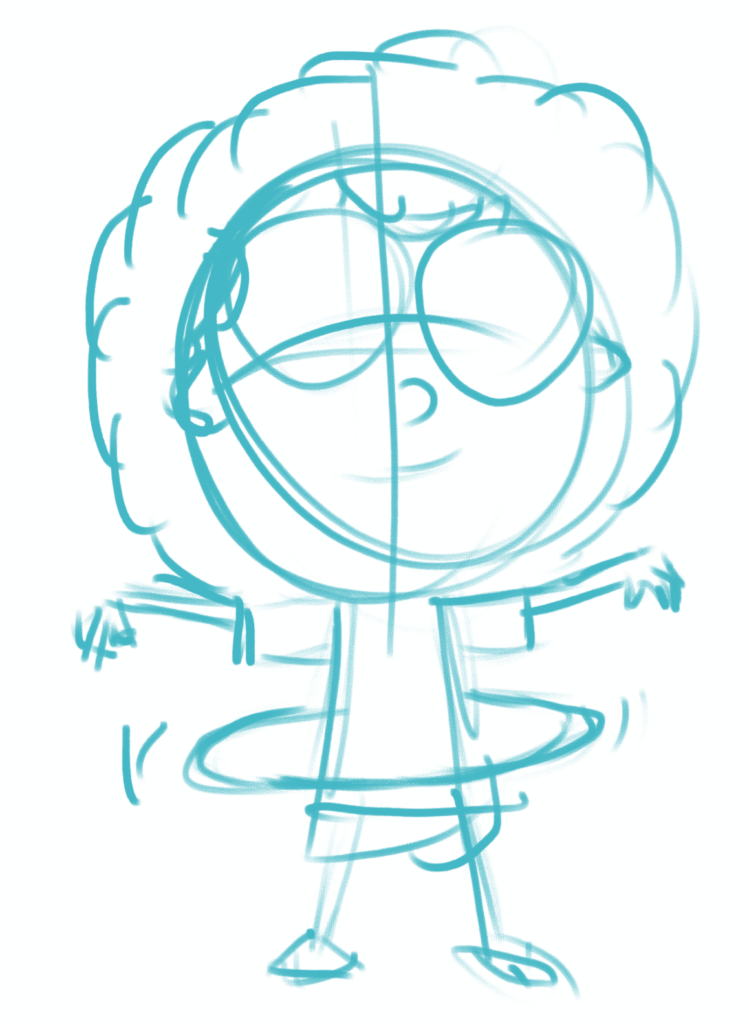
Layer 2: Digital Sketch
I know what I’m planning, so I draw my digital sketch from memory. Sometimes I’ll scan the original and import it. I use a light colored pencil for the sketch. However, it’s digital, so I could use whatever I wanted. I learned the hard way to label my sketch layer so I don’t ink on top of it.
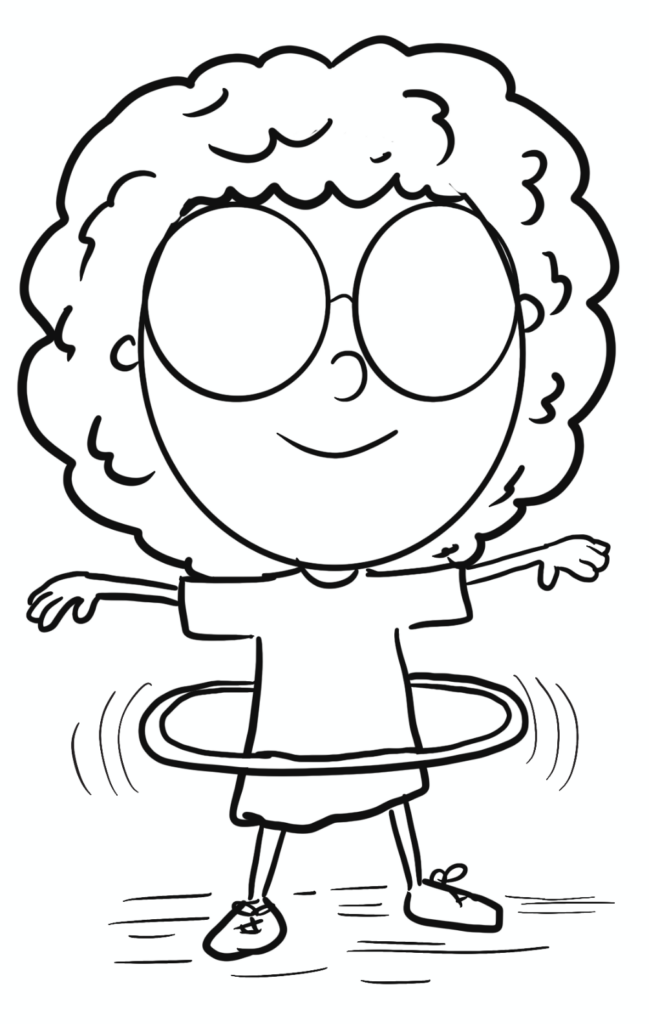
Layer 3: The Ink
I create an ink layer, label it, and move it to the top. If I remember to lock it, I do so I don’t work on it.
*The hair and the hula hoop are on separate layers. I wanted freedom to work with the hair. Drawing female hair is a challenge for me. The hoop is separate because I wanted to sit on top of the layers.
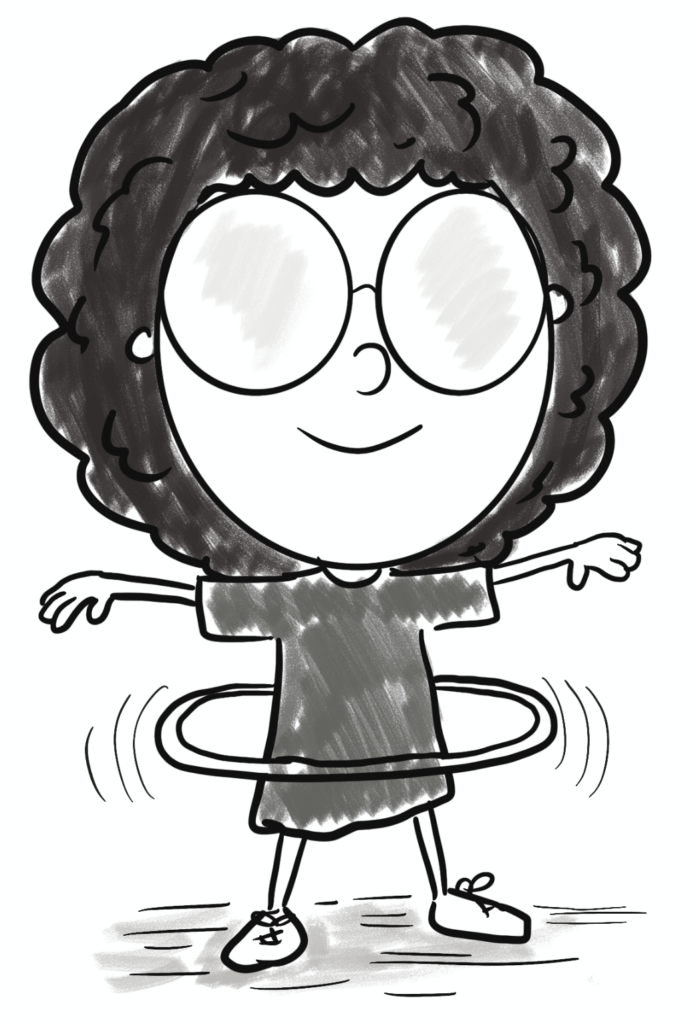
Layer 4: The Wash
I used a gouache brush for the color. Most of the time, I work in black and white. It depends on what I’m working on and my mood.
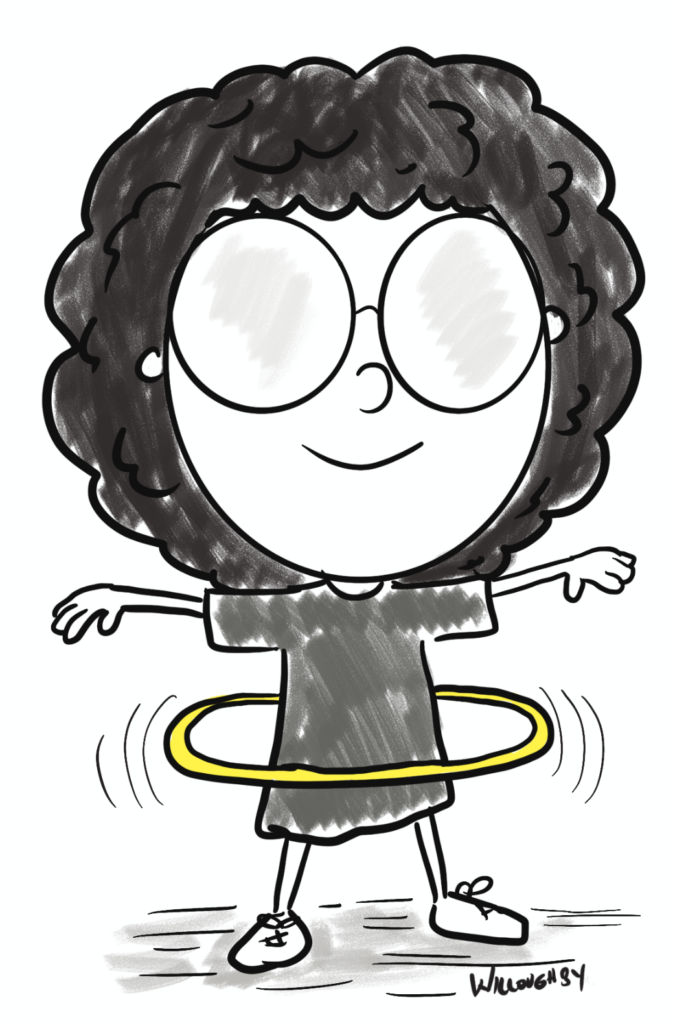
Layer 5: Color
I only used yellow, and it’s on the hoop.
Layer 6: Signature
I always put my name or my “@” on my work. If working for a client, I make the signature part of the agreement, but I make it “mostly” unnoticeable.
Procreate is my favorite iPad app. I use it as a sketchbook and to create illustrations.
At the time of this post, Procreate is $12.99.
Procreate is user friendly, with a simple layout, and it is easy to use. This app is a great way to learn layers, masks, and other digital art basics. There are also plenty of features for experienced artists, too.
Here is the link: Procreate
